A nicked and scratched boat propeller blade can lead to decreased performance, increased fuel consumption, and potential damage to the engine. However, with the right tools and techniques, it is possible to repair minor damage and restore the propeller's functionality.
Let's review the process of repairing a nicked and scratched boat propeller blade using a file, allowing you to save money and prolong the life of your propeller.
Materials Needed:
- Safety goggles
- Gloves
- File (preferably a fine-toothed, flat file)
- Sandpaper (medium and fine grit)
- Cleaning brush
- Marker or chalk
- Rust inhibitor or marine-grade paint (optional)
Step 1: Ensure Safety Precautions
Before beginning any repair work, always prioritize your safety. Wear safety goggles and gloves to protect your eyes and hands throughout the process.
Step 2: Remove the Propeller
Start by removing the propeller from the boat's drive unit. Refer to your boat's manual or consult a professional if you are unsure how to do this properly.
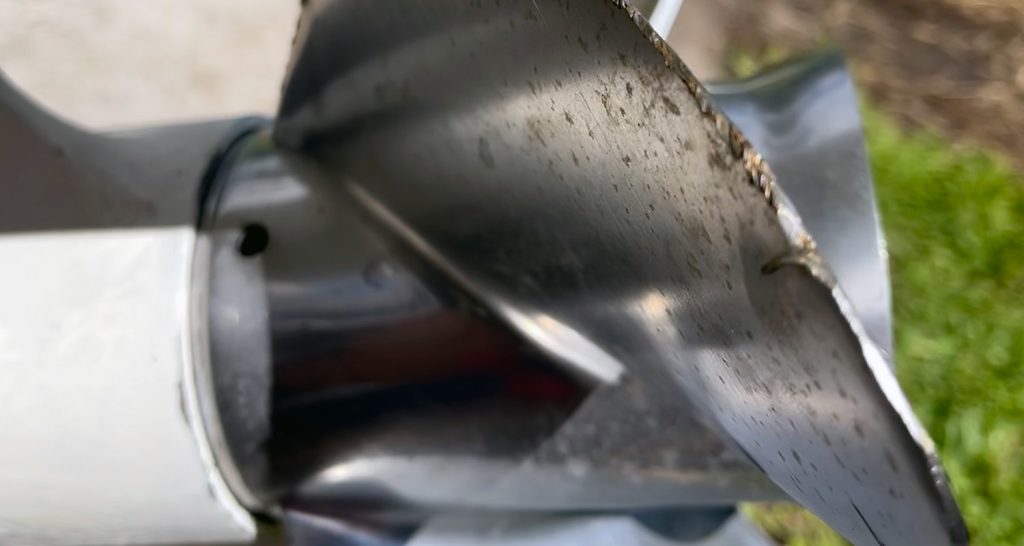
Step 3: Inspect the Blade
Carefully examine the propeller blade for any nicks, dents, or scratches. Mark these damaged areas using a marker or chalk, as it will help you track your progress during the repair process.
Step 4: File the Nicks and Scratches
Using a fine-toothed, flat file, gently file down the nicks and scratches on the blade. Maintain a consistent angle and apply even pressure while filing. Work slowly and methodically to remove only the damaged material, avoiding excessive removal that may compromise the blade's integrity. Take breaks to cool down the blade and file to prevent overheating.
Step 5: Smooth the Surface
Once you have filed the nicks and scratches, switch to sandpaper. Start with medium-grit sandpaper and gradually move to finer grits. Sand the repaired areas in a circular motion, blending them with the surrounding surface. This step helps to smooth out any roughness left by the filing process and ensures a more streamlined propeller.
Step 6: Clean the Blade
After sanding, use a cleaning brush to remove any debris or metal shavings from the blade. Ensure the blade is thoroughly cleaned before reinstallation.
Step 7: Reinstall the Propeller
Carefully reattach the propeller to the boat's drive unit, following the manufacturer's instructions. Make sure it is securely fastened and aligned correctly.
Step 8: Apply Rust Inhibitor or Marine-Grade Paint (Optional)
To provide added protection against corrosion, you may choose to apply a rust inhibitor or marine-grade paint to the repaired areas. This step can help prevent future damage and extend the life of your propeller.
Wrapping Up
Repairing a nicked and scratched boat propeller blade using a file is a feasible DIY task that can save you money and improve the performance of your boat. By following the step-by-step process outlined in this article, you can effectively repair minor damages and restore the propeller's functionality. However, it is important to note that significant damage or structural issues should be addressed by a professional. Regular maintenance and inspections will also help identify potential problems early on, ensuring optimal performance and safety on the water.