Ensuring that your boat trailer's wiring system is in good working order is crucial for safe and hassle-free towing. Over time, wiring can deteriorate due to exposure to the elements and general wear and tear. If you're experiencing issues with your boat trailer's lights or suspect a faulty wiring connection, it may be time to rewire your trailer.
In this guide, we will provide a step-by-step process on how to properly rewire your boat trailer, ensuring a reliable electrical system for worry-free towing.
Note: Before beginning any rewiring project, consult your trailer's owner's manual for specific instructions and adhere to local regulations and safety standards.
Step 1: Gather the Necessary Tools and Materials
Before diving into the rewiring process, gather the following tools and materials:
- Wire strippers and crimping tool
- Electrical tape
- Heat shrink tubing
- Wire connectors (butt connectors, bullet connectors, etc.)
- Multimeter (for testing continuity and voltage)
For high-quality wiring tools and materials, check out our recommended wire strippers and heat shrink tubing.
Step 2: Remove Old Wiring
Begin by disconnecting the trailer from the towing vehicle and disconnecting the battery (if applicable). Remove the old wiring harness from the trailer, including lights, connectors, and any clips or brackets holding the wiring in place. Ensure all old wiring is completely removed and clean any debris or corrosion from the trailer frame.
Step 3: Plan the Wiring Layout
Take a moment to plan the wiring layout for your trailer. Determine the desired path for the wiring harness, making sure to avoid areas prone to damage or excessive movement. Consider securing the wiring using clips or conduit to protect it from potential hazards.
Step 4: Connect the Ground Wire
Identify a suitable grounding point on the trailer frame. Securely attach the ground wire to this point using a wire connector and ensure a solid connection. Proper grounding is essential for the reliable operation of your trailer lights and other electrical components.
For reliable wire connectors and other electrical supplies, browse our selection of wire connectors.
Step 5: Connect the New Wiring
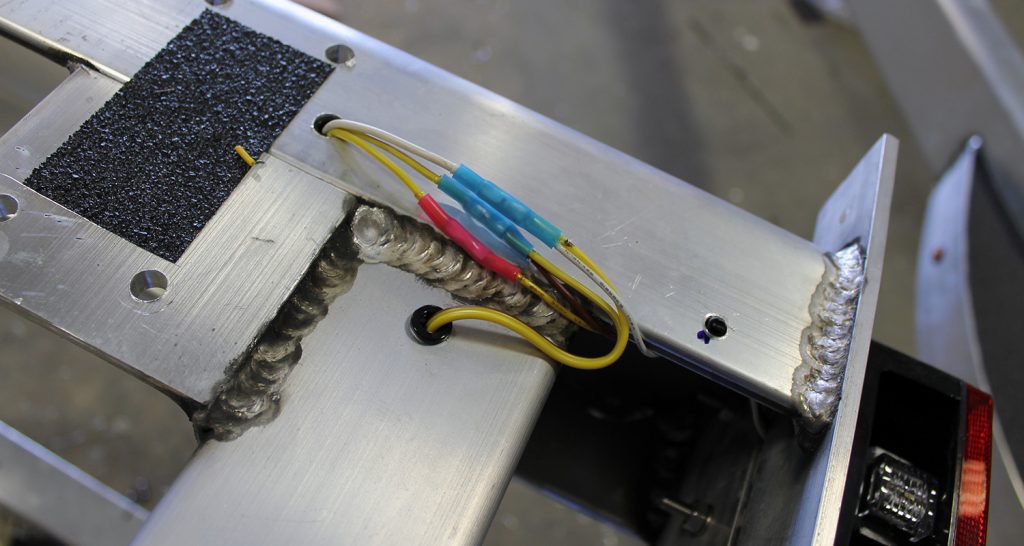
Follow the wiring diagram for your trailer and connect the new wiring according to the layout you planned. Use wire strippers to remove insulation from the ends of the wires, and crimp connectors securely in place. Insulate all connections with electrical tape or heat shrink tubing to protect them from moisture and corrosion.
Step 6: Test the New Wiring
Once all connections are made, use a multimeter to test for continuity and voltage. Ensure that all lights and electrical components function correctly before reattaching the trailer to the towing vehicle.
For accurate testing, consider investing in a reliable multimeter.
Step 7: Secure and Finalize
Secure any loose wires and ensure that the wiring is properly routed and protected. Reattach any clips or brackets that were removed during the process. Reconnect the trailer to the towing vehicle and perform a final check to confirm that everything is functioning as expected.
With these steps, you can ensure a reliable and efficient electrical system for your boat trailer. For all your wiring and electrical needs, explore our recommended products.


