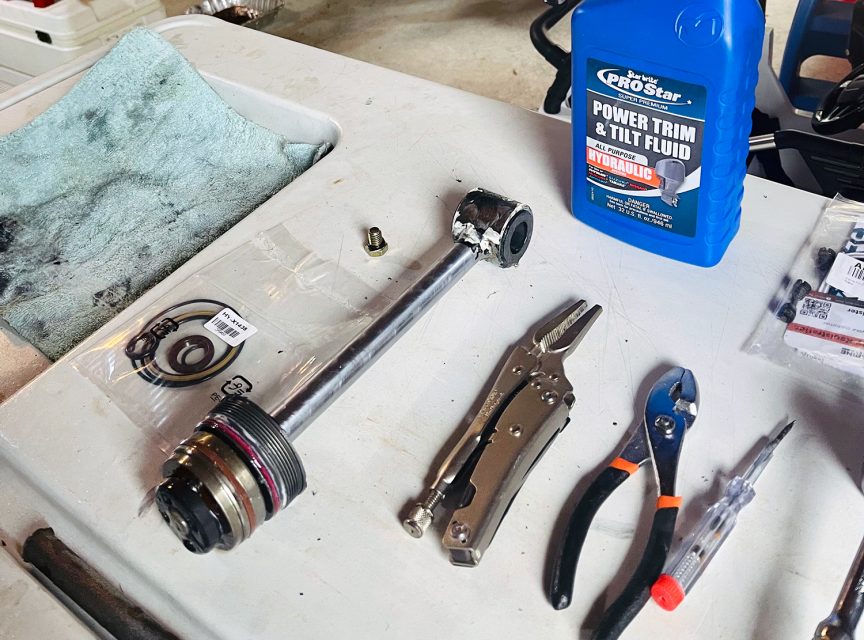
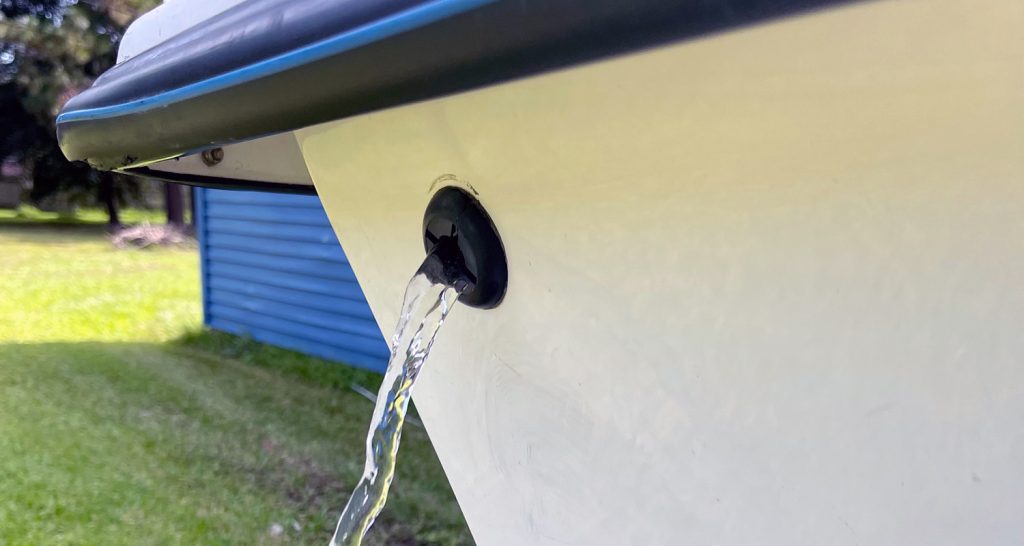
If you have an Evinrude tilt and trim leak, we'll review the most common cause of the problem, what the problem looks like, and how to repair it yourself.
This is not going to be a complicated article, and it will speak to boat owners who either want to get back out on the water as soon as possible, or who want to identify and hopefully save some time by assessing the process to simply repair the tilt and trim leak in a DIY manner.
Signs Your Evinrude Tilt and Trim System Is Leaking
When you tilt your outboard engine up and down, does the ram piston for the tilt and trim system on your outboard motor produce a small quantity of fluid leakage? Have you ever been out on the water and observed that the motor leaves a very slight oil slick behind it? If yes, you most likely have a leak.
Why Is Your Evinrude Tilt and Trim Leaking?
There are plenty of reasons for a tilt and trim leak for any and all outboard brands and configurations. However in the case of Evinrude E-tecs, more specifically the G1 variation in production from 2004 – 2015 there seems to be an abundance of tilt and trim leaks reported due to the factory use of biodegradable seals applied to the assembly.
Rather than going over every piece making up the Evinrude tilt and trim seals, we're going to jump right in and shine a spotlight on the cap. The Evinrude tilt and trim cap, contains 3 very basic seals:
- The wiper seal. This keeps debris and contaminants from entering your tilt and trim system.
- The U-cup. This serves as the main piston seal. A corroded U-cup is often the source of problems and cause of leaks, a cheap swap with a properly sized O-ring in place of the U-cup can in many cases correct your leak.
- The O-ring. This ring is applied at the bottom of the cap at the base of the threads.

How To Fix Your Evinrude Tilt and Trim Leak
In many instances, Hydraulic Oil Booster and Stop Leak can keep your leak under control for around 6 months. However, in the event that stop leak products do not work for your leak, it may be necessary to replace the seals of your tilt and trim end-cap.
Replacing Tilt and Trim Seals
In order to remove the pin that connects your tilt and trim piston, you need to have a reasonable amount of mechanical ability, be ready to get your hands dirty, and be careful when manipulating and bracing your engine.
When removing the cap, it is necessary to match the appropriate part number with the right pin wrench in order to remove the cap from the trim and tilt. The quality of your wrench is very important for a successful cap removal, and we strongly suggest using the Pin Wrenches from Marine Tech Tools.
It is advised that you remove your tilt and trim cap and piston assembly so that you can check it for any issues that could be contributing to your leak prior to purchasing any replacement parts or seals.

Regarding the replacement of the seals, Evinrude tilt and trim seal kits are available for purchase; however, these kits can be rather expensive and contain seals and parts that are not necessarily essential to repair the problem.
The wiper seal is regarded as being the most important part of the readily available seal kits due to this seal requiring a factory fit.
DIY Tip: You can substitute both the O-ring at the bottom of the cap and the U-cup in the middle of the cap by purchasing a set of O-rings that are similar in size – the end result should be reasonably snug and air-tight fit.
When you are ready to re-assemble your cap and piston (ensure your engine safely braced), place the piston inside the tilt and trim cylinder. Move the rod and piston into the cylinder in a slow and careful manner until the end cap is positioned so that it is just above the top of the cylinder.
Important Tip: Make sure there is sufficient space in the cylinder (on top) so that fluid can be poured into it. If you don't fill the cylinder, it can be incredibly difficult to get the air out of the trim and tilt unit, and you'll have to take apart your unit again or go down a rabbit hole of troubleshooting.


